


Introduction
How to Create a Website Using Hipposerve SitePad Website Builder
SitePad is a powerful website builder that allows you to create and customize your website with ease. Follow this step-by-step guide to set up your website using SitePad.
Step 1: Log in to Your Control Panel
To begin, log in to your HippoPanel and follow the guide shown here.
https://hipposerve.com/knowledgebase/4729/Accessing-the-Hippo-Website-Builder.html
Step 2: Create a New Website
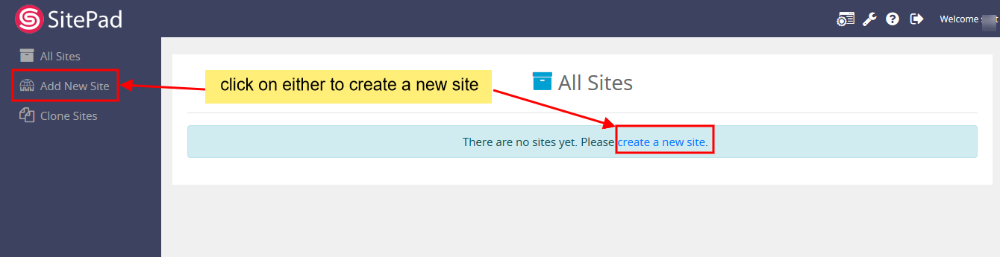
After reaching the SitePad Website Manager, you’ll need to create a new site.
Click on the “Create New Site” button.
Step 3: Set Up Your Website Details
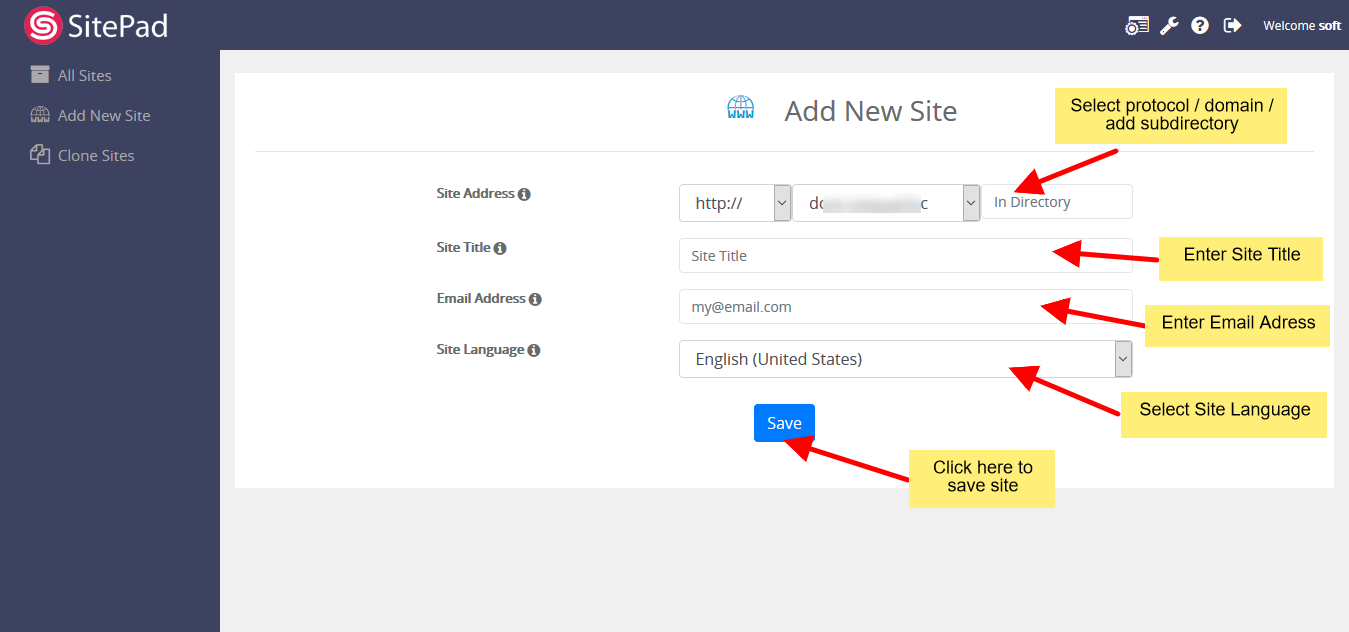
Now, you’ll need to configure your new website:
1. Choose the protocol (e.g., https:// or http://).
2.Select your domain from the dropdown.
3.Specify a directory if needed (leave blank for the main domain).
4.Enter your Site Title – this will appear in search engines and browser tabs.
5. Provide an admin email for notifications.
6. Select your preferred language.
Once done, click Save.
After saving, you’ll see a success message confirming your site has been created.

Step 4: Set Up Your Site with SitePad
Now that your site is created, you’ll need to set up its design and content.
1. Click the “Login to Site” button to access the SitePad editor.
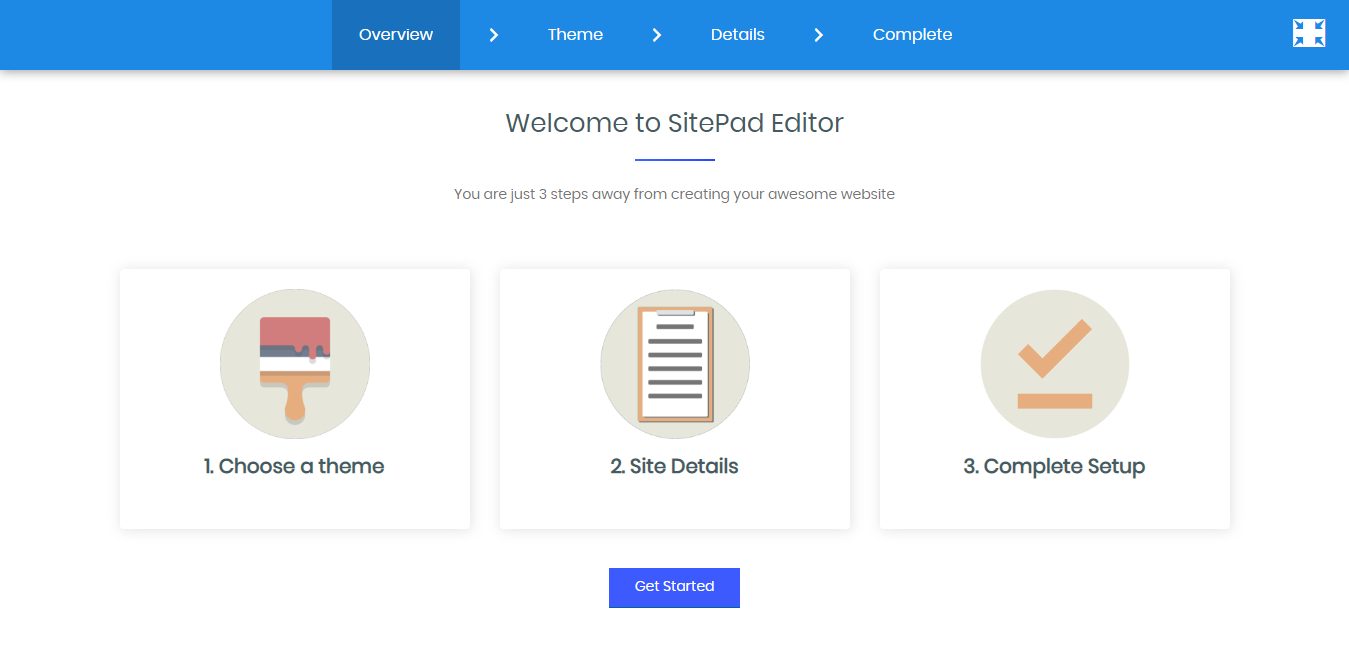
2. You’ll see a welcome page. Click “Get Started”.
Step 5: Choose a Theme
To make your website look great, you need to select a theme.
1. Browse through the available themes or use the search option.
2. Click on a theme to preview the details.
3. Once you find the perfect theme, click “Select” to apply it to your website.

Step 6: Customize Your Website
Now that you have a theme, it’s time to personalize your website.
1. Fill in your site details – this includes your website title, social media links, and contact information.
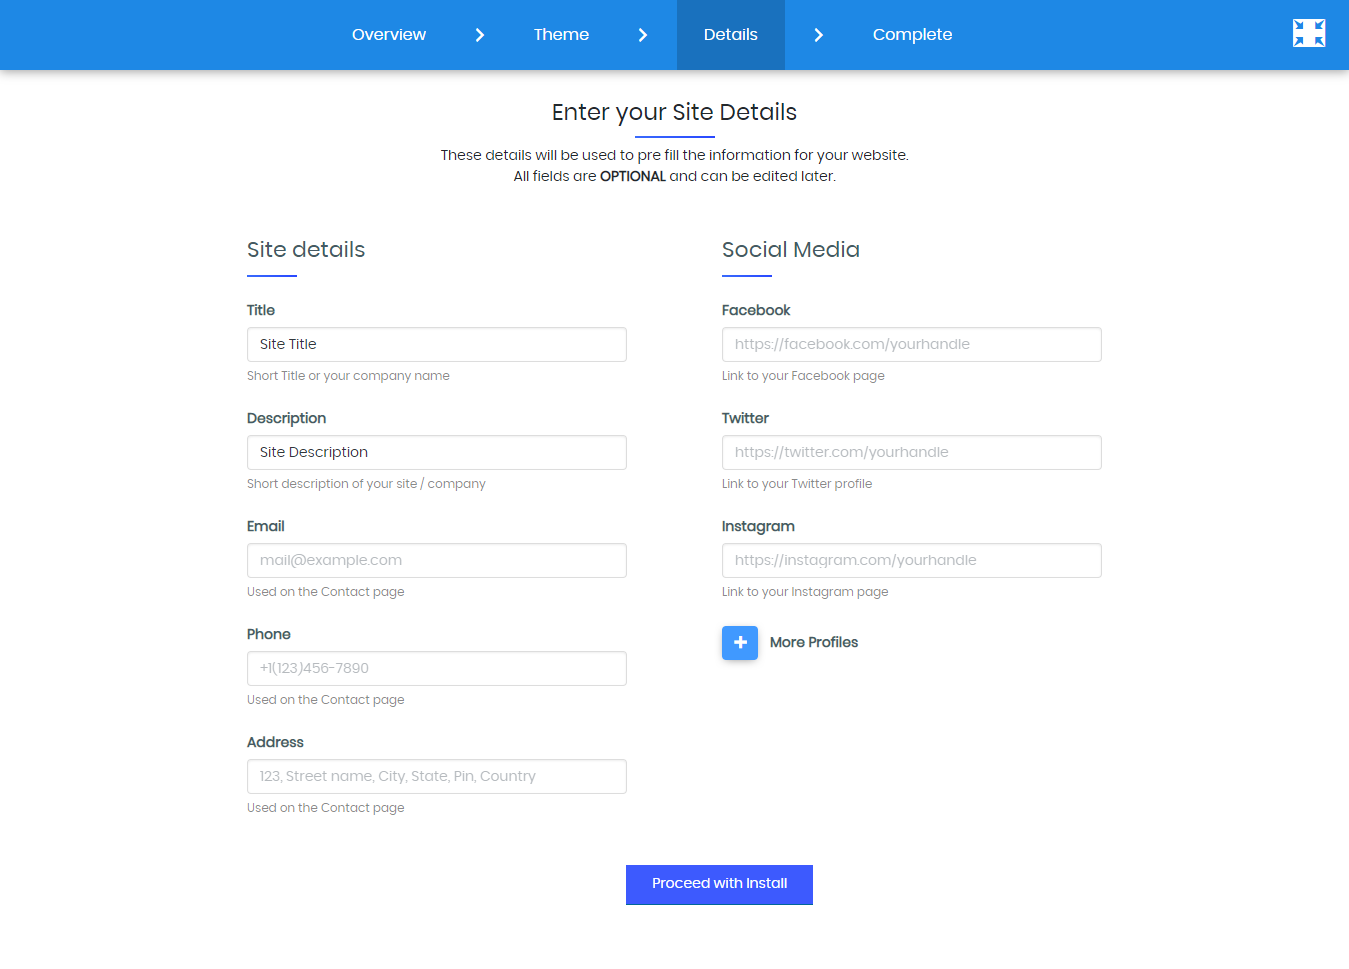
2. Replace the default content with your own by editing text, images, and widgets.
3. Click “Proceed with Install” once you’ve filled in the details.

Step 7: Start Editing Your Website
Once the installation is complete, you’ll be automatically redirected to the SitePad Editor.
1. You’ll see your website’s homepage in edit mode.
2. Use the drag-and-drop editor to add text, images, buttons, and more.
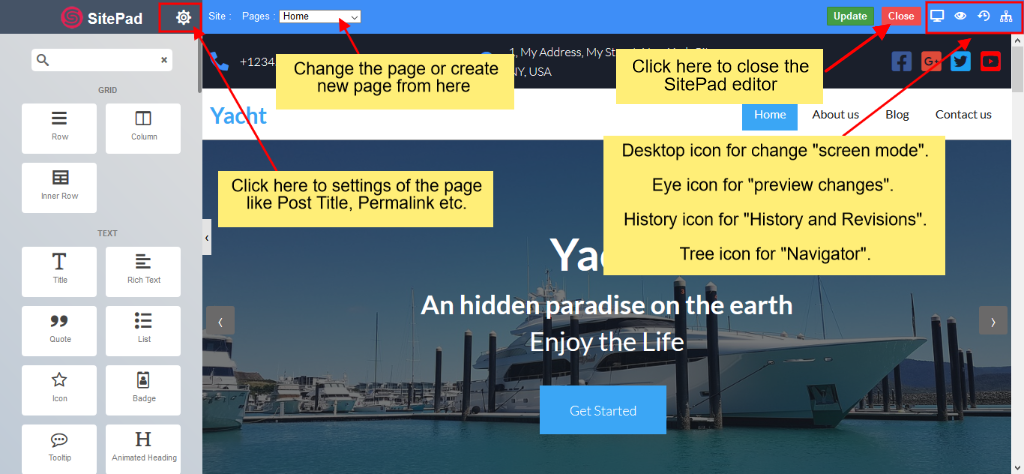
Step 8: Adding or Editing Pages
To add or edit pages, follow these steps:
- Click on “Pages” in the SitePad menu.
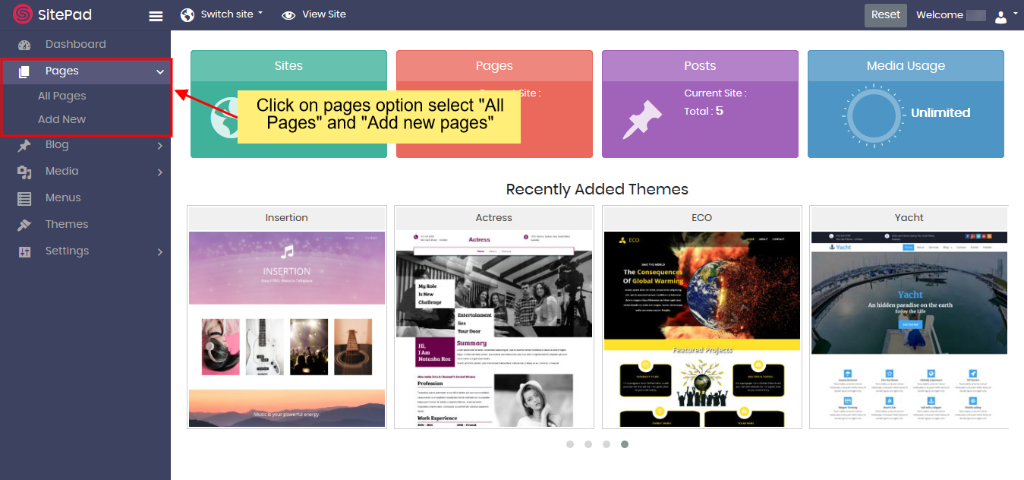
2. Select “Add Page” to create a new page or “All Pages” to edit an existing one.
![]()
3. Use the Page Settings to update:
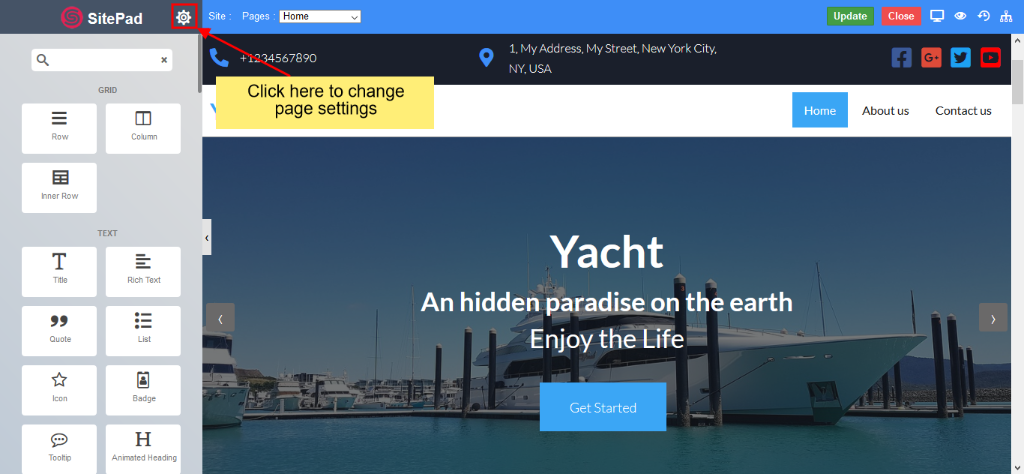
• Page Name
• Page URL
• Page Status (Draft/Published)
• Featured Image

Once the page is ready, click “Update” to save your changes.
Step 9: Editing Widgets
Widgets allow you to add dynamic elements like sliders, galleries, and buttons.

1. Drag and drop widgets onto your page.

2. Right-click a widget to see options like Edit, Duplicate, Copy, or Delete.
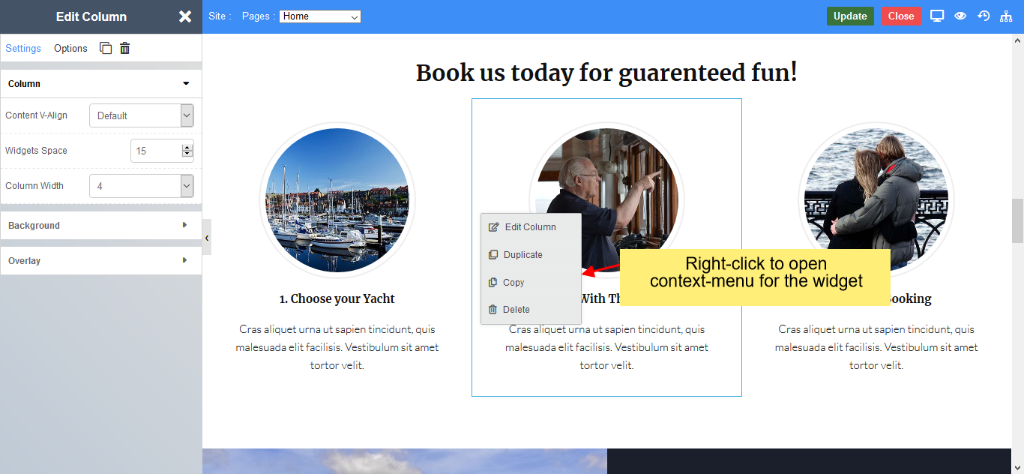
3. Click the Pencil Icon to modify widget properties (text, size, color, etc.).
![]()
4. Use Advanced Options to further customize styles and layouts.

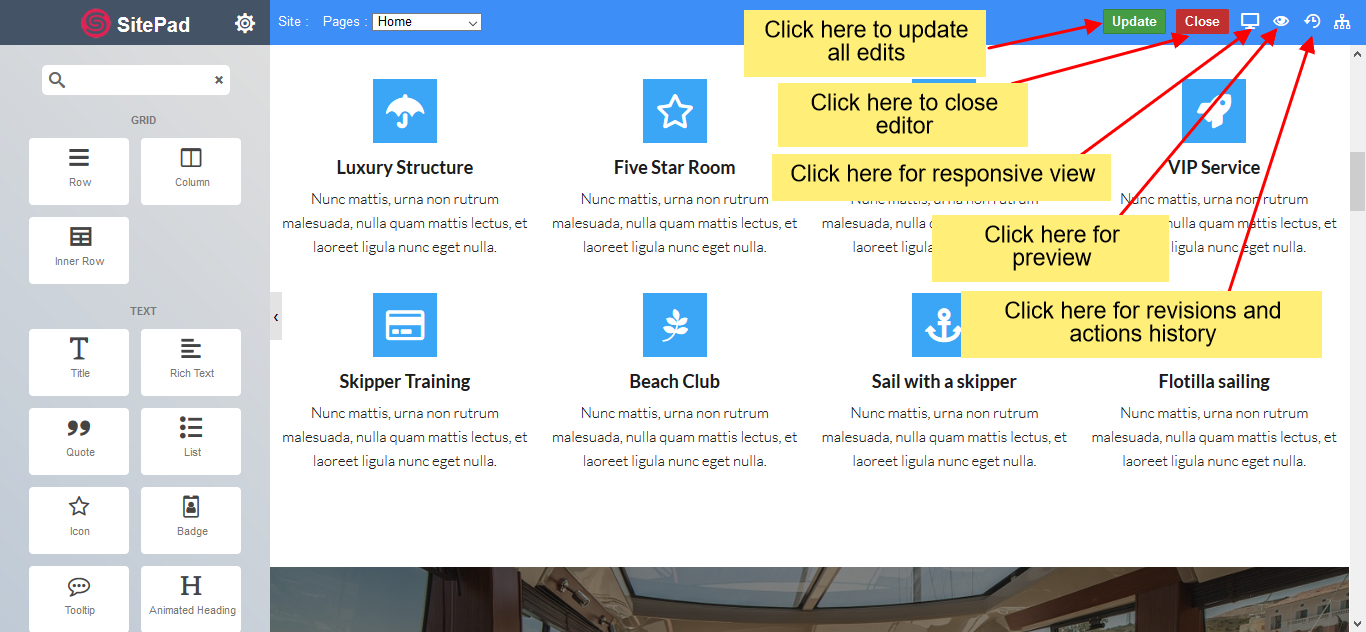
Step 10: Save and Publish Your Website
Once you’re happy with your changes:
1. Click the “Update” button in the top right corner.
2. You’ll see a confirmation message that your changes have been saved.
3. Your website is now live!
Congratulations!
You’ve successfully created your website with SitePad! You can always return to the editor to make updates and improvements.
Need help? Our Hipposerve Support Team is here to assist you!


